
To create or view your documents in the Report Builder, you need to go to the Reports section of the tool. If you aren’t in need of a specific document structure, you can pick one of the premade report templates for your next report. Hover over a template to see its structure. 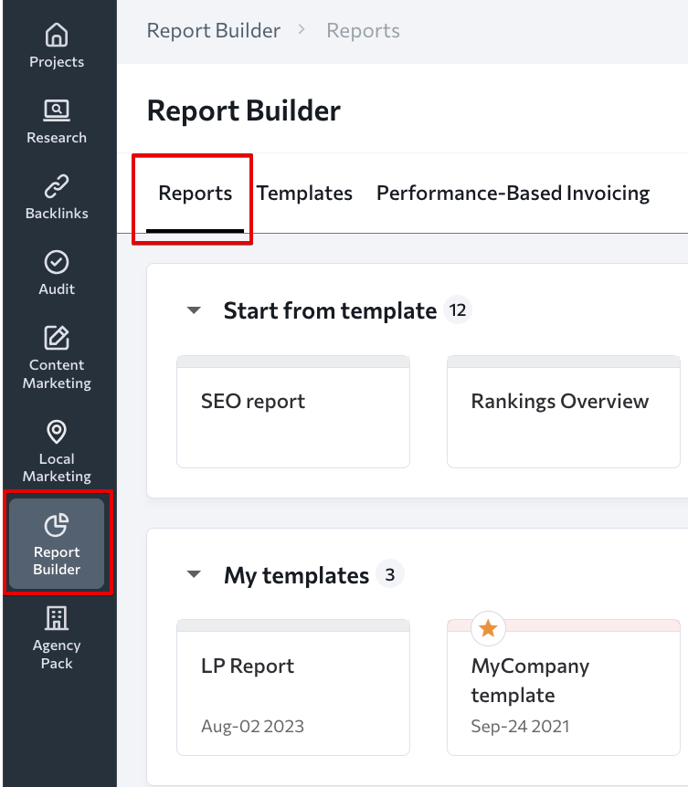
If none of these templates suit your needs, you can always create your own in the Templates section of the tool. If you are new to the instrument, we recommend starting with one of the premade options so you can save time and learn as you go.
Report creation
Once you have decided on a template, click on it to proceed. You will be asked to specify the project and enter the report’s title. From here, you can go back to the Template Gallery to select another template or create a prestructured document. If you choose to create your own report, the following menu will appear: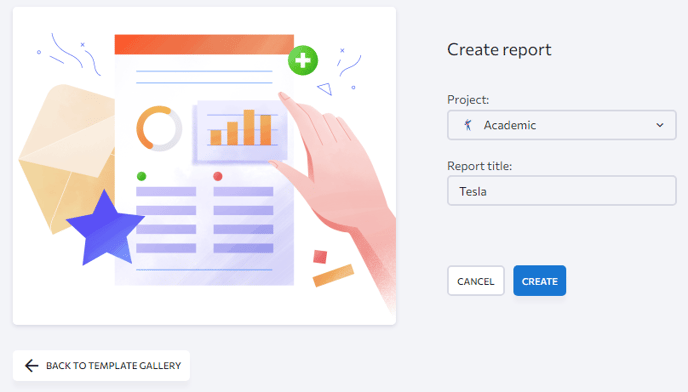
The next thing you will see after clicking the Create button is the report generator. To customize the report, follow these steps: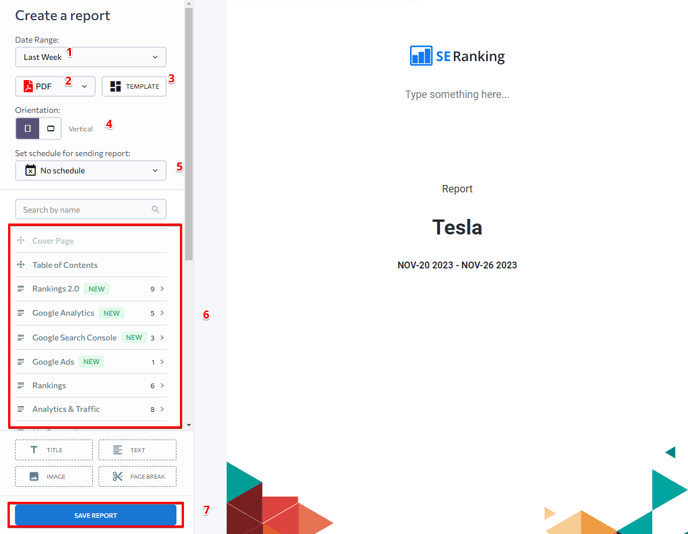
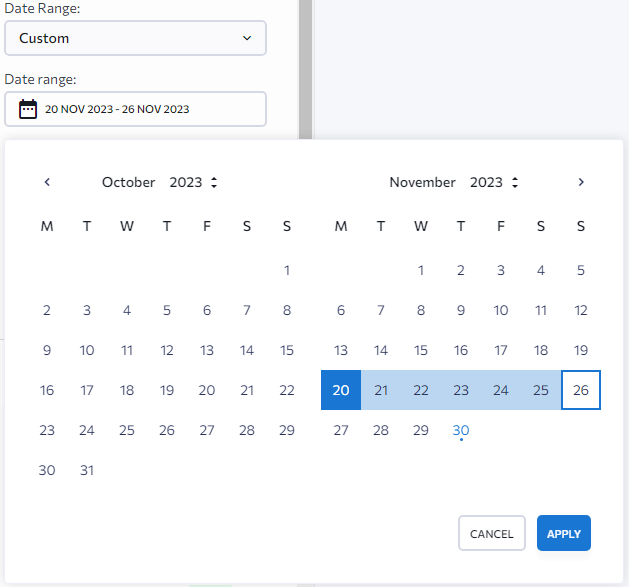
You can create reports for any period of time by selecting a date range with the calendar’s help. You can also specify the date range by using the following quick filters:
- Today
- Yesterday
- Last week
- Last month
- Last 2/7/14/30/60/90 days
- Last 6/12 months
- XLS
- HTML
Detailed information about each file format can be found here.
3. Choose a template
If you want to use a pre-structured report template instead of creating a report from scratch, choose one here. You have access to a variety of templates, each of which can help present your performance in a convenient way. Each is designed for different goals: SEO reports, rankings and traffic overview, organic traffic, competitors, website audit and audit issues, social media overview, and Google Ads. 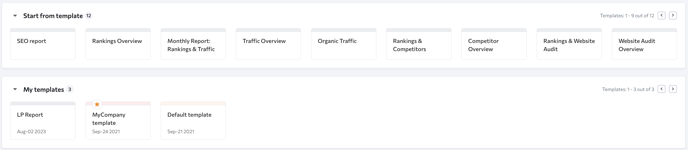
It can be either traditional vertical or horizontal (album). The latter makes it easier to preview, export to PDF and HTML, and embed the report in an email.
5. Set the report schedule
Select how often you want the app to send out the report. It can be set to daily reporting, once per week, or once per month. If you don’t want any automatic reports, select the “No schedule” option. In the scheduling settings, you can select the hour or period of day when a report should be sent. Users' time zones are taken into account when setting send times.
6. Customize the report by adding sections
Add new sections to the report or delete existing ones if you’re using a template. Click here to find out more on how to work with report sections.
7. Press the “Save report” button
Your report will be ready within minutes. Once it’s ready, you can view, edit, download, or email it from the table in the Reports section.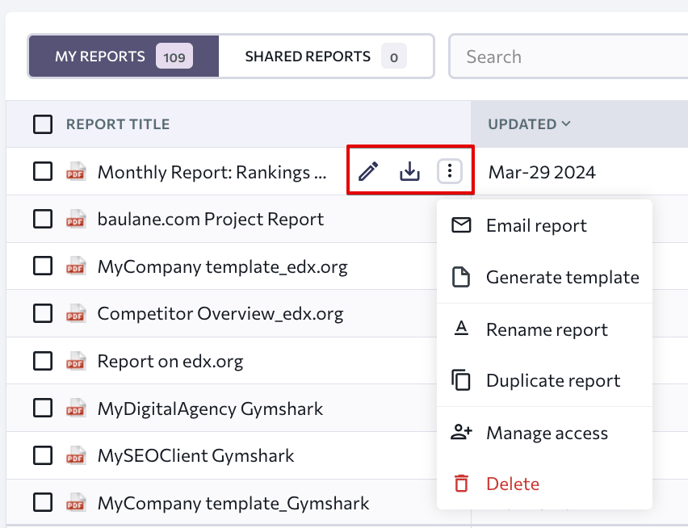
You can download any report from the table with the most up-to-date data, or you can get a scheduled report with data as of the scheduled time. In the same table, you can check if the report is being sent per schedule or not.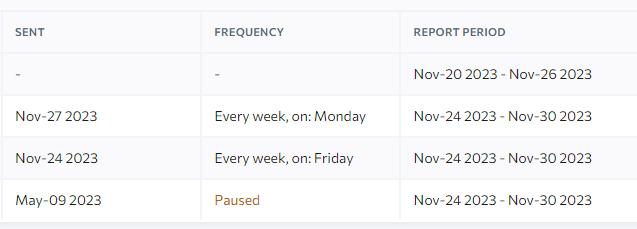
Templates
In this section of the Report Builder tool, you can create your own report templates and work with previously created ones. Here, you can also check whether any of your templates are being shared with sub-users.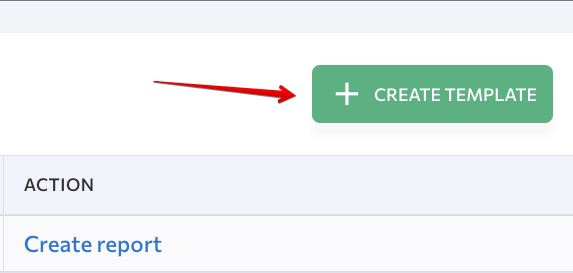
By clicking on the “Create template” button, you can launch a template editor to build a custom template that will have only the sections you need.