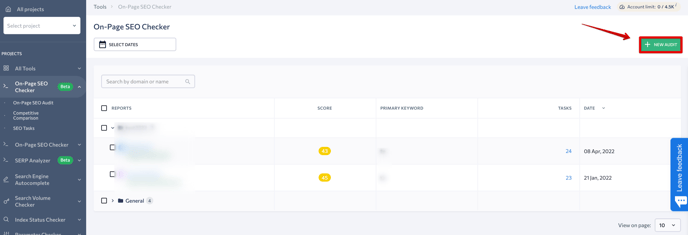
- Enter the page URL.
- Select a search engine, country, region, and Google interface language.
- Then enter the primary keyword and secondary keywords.
- Add the report name.
- Select the project group from the list or create a new one.
- Click on the “Run Audit” button to start scanning the page.
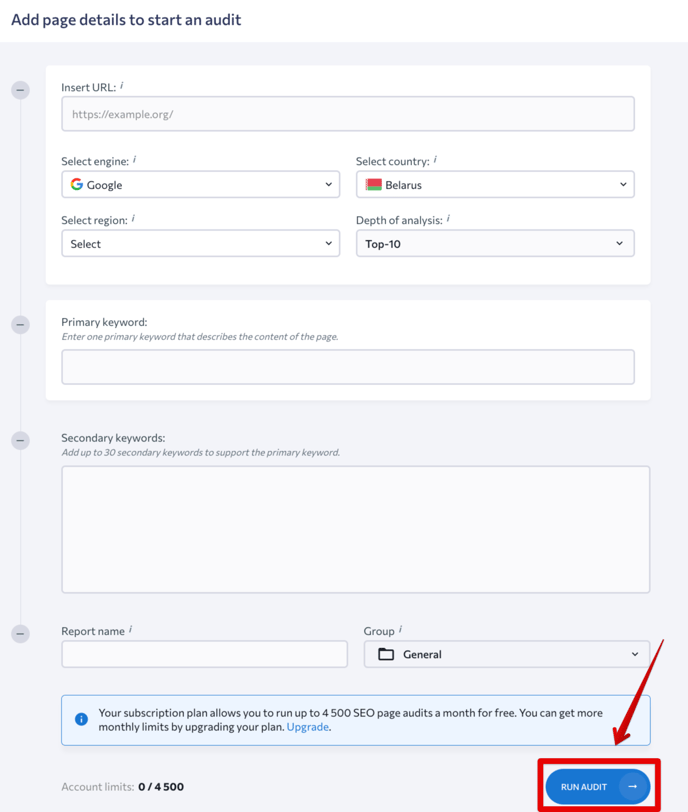
If you’ve used the tool before, you need to click on New Audit as shown in the screenshot below, and then complete the field following the instructions above.
Recheck
To discover new errors, you need to run the audit regularly. Hover over the page you want to analyze again and hit the corresponding button. In the pop-up window, click on the “Recheck” button.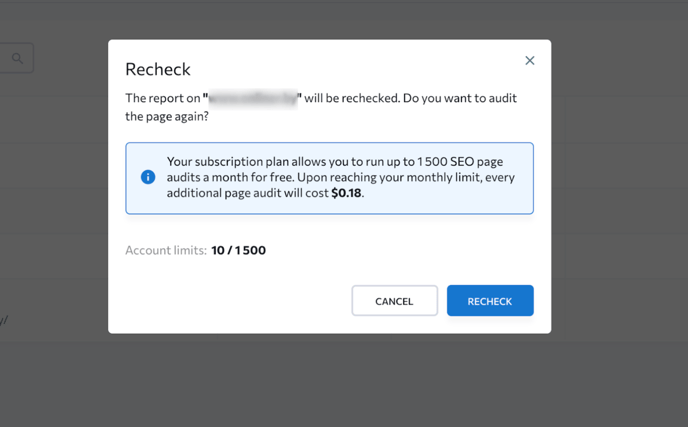
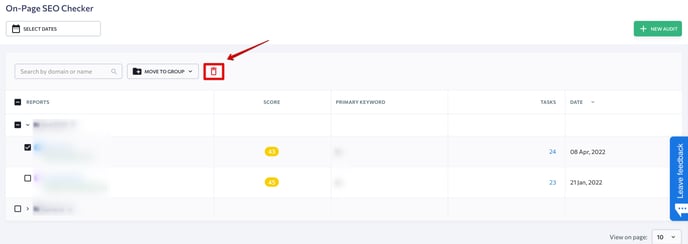
If you want to delete a page from the On-Page SEO Checker, hover over the page name and click on the “Delete” icon. To delete several pages at once, tick the checkbox next to the pages you want to delete and click on the “Delete” icon as shown below.
Exporting results
You can export the results of the On-Page SEO Checker using the following options:
- Open the report and hit the “Export” button. Here you can export data to a PDF file.
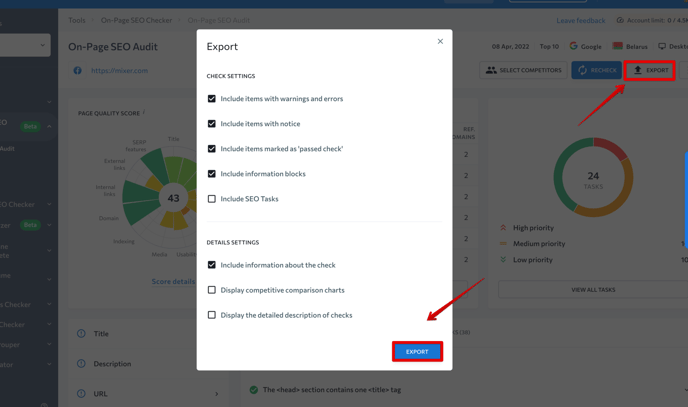
2. Tick the checkbox next to the needed sections and click on the “Export data” button.
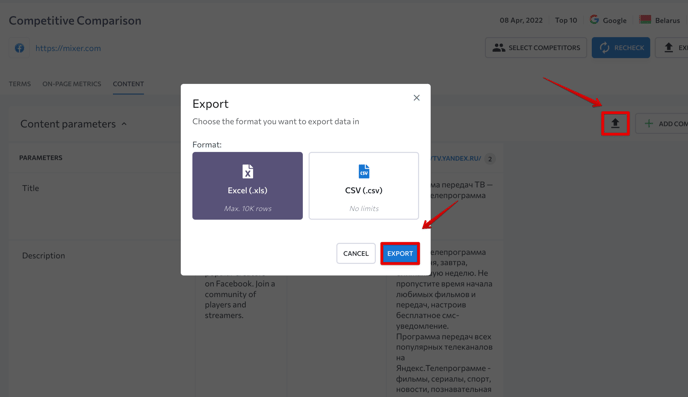
To export data from the Competitive Comparison table, go to the respective page and click on the “Export” icon. Then, choose either XLS or CSV format and hit “Export.”
You can send reports via email by following the steps below:
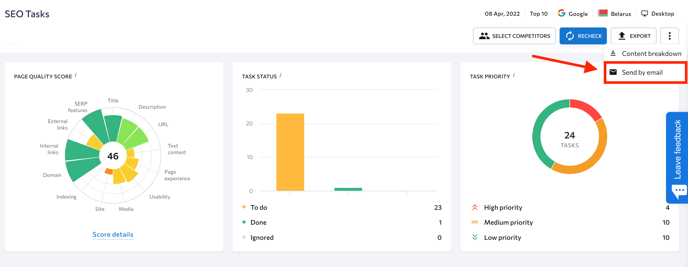
- Open the three-dot menu on the left side of the On-Page SEO Audit section and click on the “Send by email” button.
2. Specify the email on which you want to send the report and tick the checkboxes next to the data you want to include in the report.
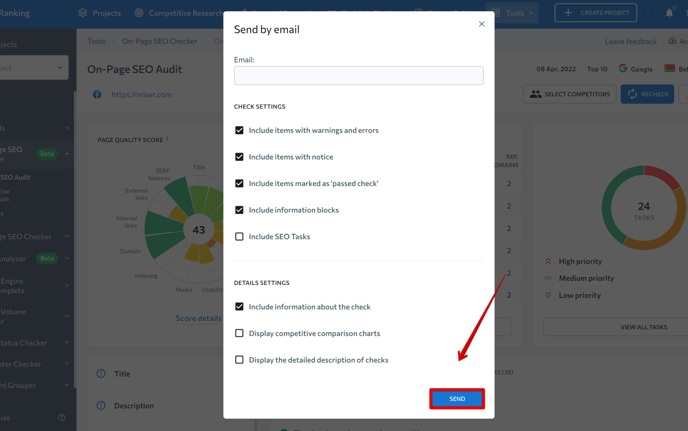
3. Hit “Send.” In addition, if you want to share On-Page SEO analysis data with your clients or partners, click on the Guest link button at the top of any dashboard and copy the URL.
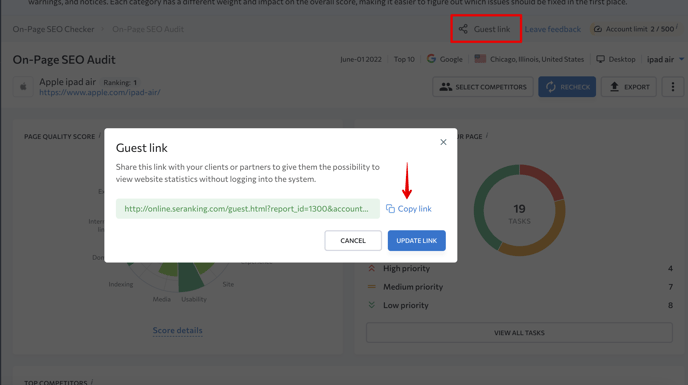
Sharing this link allows anybody to view the page (and its SEO metrics) without logging into the system.

