
- To configure the settings of the Lead Generator tool, go to the Settings section.
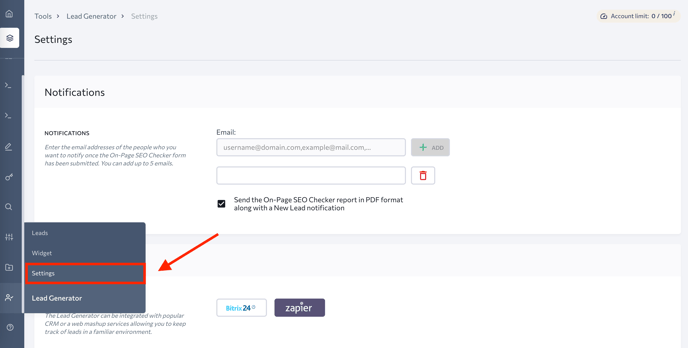
2. The first section you’ll see is Notifications . Here you can set up an automated notification you will receive every time a new lead requests a free audit. Just activate notifications and enter up to 10 email addresses that will receive notifications about new leads from the On-Page SEO Checker tool.

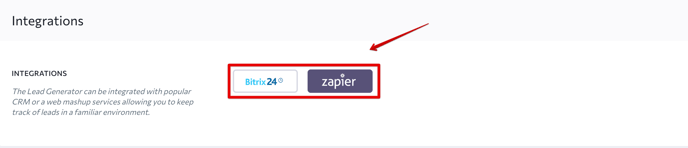
3. The widget can be integrated with different platforms and applications. This means that information about your leads can be automatically added to your CRM system. See the detailed instructions on how to integrate Lead Generator with Zapier .
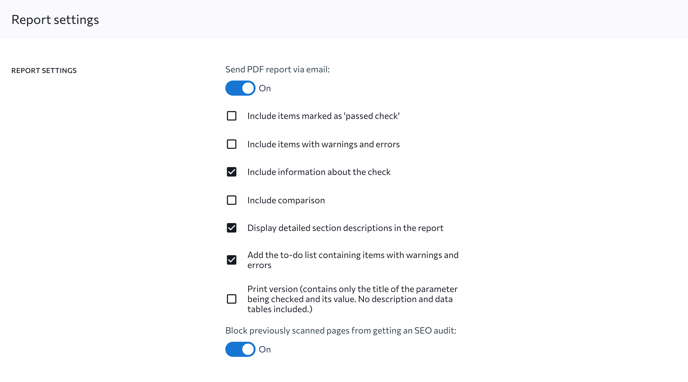
4. You can also set up a report that leads will receive once they submit a form. Just go to the Report Settings subsection and tick the items you want to include in the report.
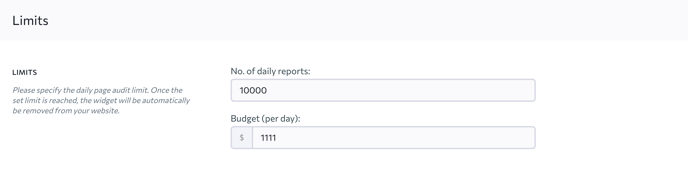
5. You can control your spending budget and set a daily limit on the number of reports that can be requested through the widget. Moreover, set a daily budget to regulate the number of available reports. Once the limit is reached, the widget will be automatically hidden from your website.
6. Add the domain names or email addresses you want to block from running the On-Page SEO Checker tool. Just add them to the blacklist and save changes.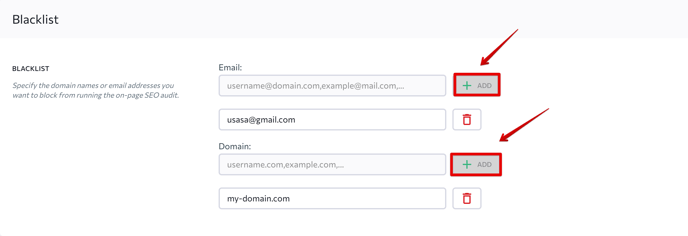
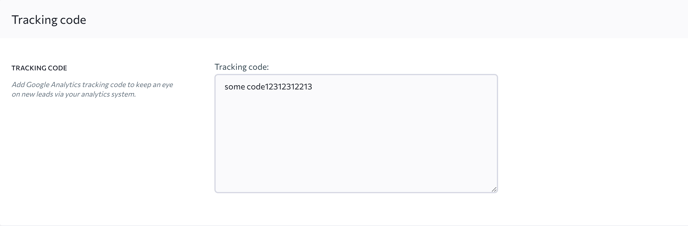
7. To track leads that requested a free audit in Google Analytics or other analytics tools, add the ID to the corresponding field as shown below.
You can also combine Lead Generator widgets to enhance your lead-generation effectiveness. It is possible to place several widgets of different types on one page and then run them simultaneously. You can manually set the time for each widget to appear.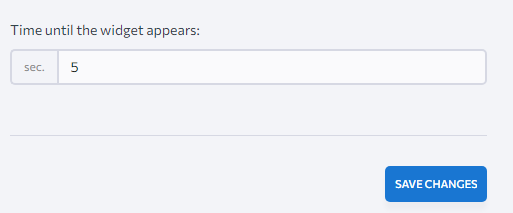
Keep in mind that you can adjust your widgets so that they are displayed to users whose information you already have. You also have an option to disable HTTP cookies.