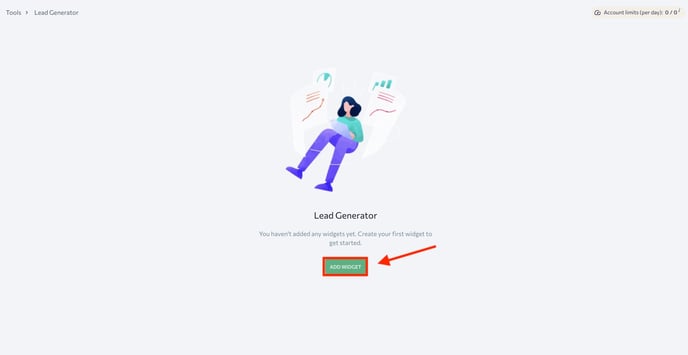
- If you are using the tool for the first time or you haven’t added any widgets yet, you will see the welcome screen where you can add a new widget. Click on the “Add Widget” button to get started.

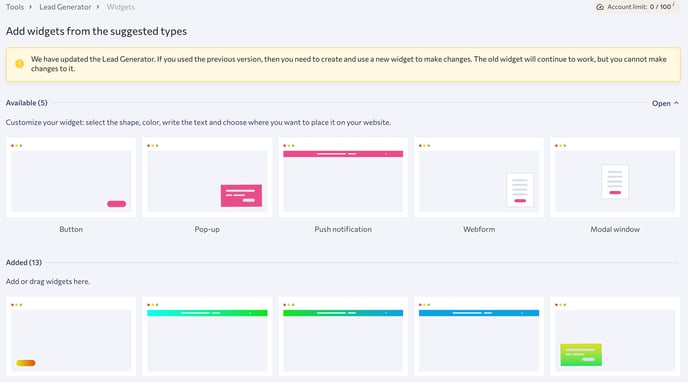
2. Then, choose the widget type from the suggested templates:
- Button
- Pop-up
- Webform
- Push notification
- Modal window

Note that in the updated version of Lead Generator , the old widget will continue to work, although you will not be able to edit it. If you want to make changes, create a new widget.
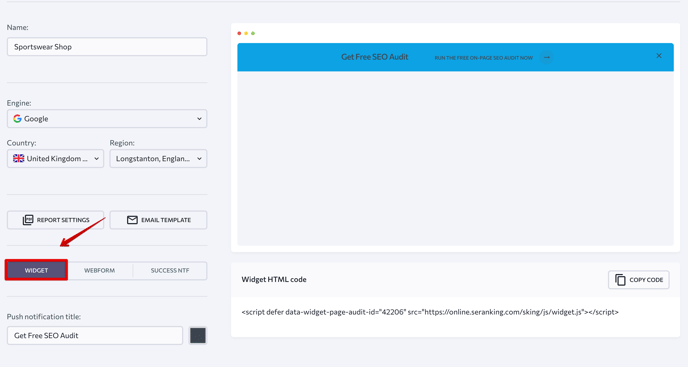
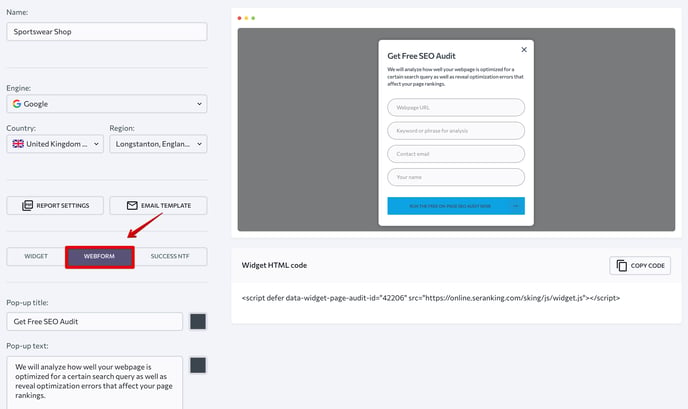
3. For this, hover over the needed template and click on the “Add” button. In the pop-up window, enter the widget name, select a language, and hit “Apply.” Then, customize your widget by selecting the shape and color, writing the text, and choosing where you want to place the widget on your website. Here you can change the header and the description text, add fields and a thank you message that your lead will see once the form is submitted. Once you finish editing, click “Save changes”.
4. Once the widget has been set up, you’ll see the HTML code displayed at the bottom of the page. Just copy-paste the code to the page where you want the widget to appear and save changes. The code should be added inside the <body> tag of your page.
After adding the widget to the site, check if it works properly by opening the HTML code of the page, finding the widget code, and then following these steps:
1. Check whether the widget contains all the necessary elements, including:
- Links to two JS files (1)
- All necessary parameters: src, data-widget-page-audit-id, data-widget-type (2).

2. Make sure the script files are not hosted on your server. The path of both script files must start with online.seranking.com . The path starting with your domain is allowed only if you use White Label.