
Naturally, we cannot pack an entire lot of helpful information in one video presentation. For this matter, we have created two special starter courses for our users:
- Getting Started with SE Ranking course: Core Tools & Features
- Getting Started with SE Ranking: Agency Tools & Features
Managing users
Note: This feature is reserved for the account owner or a manager who has been granted permission to it.
To proceed, open the “Users” page in your account. There you can manage their access to projects and check what they see when they log into their user account. You can also adjust the settings and permissions as needed.
If you want to add a user, just click the add user button right here: 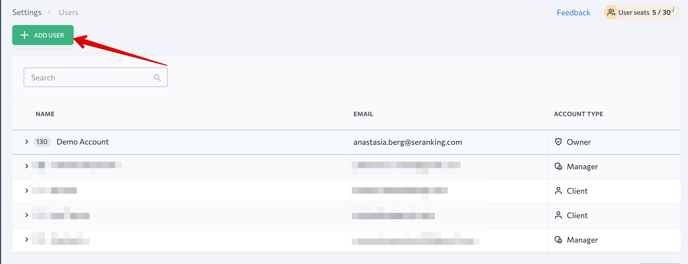
This menu lets you select between a manager and a client: 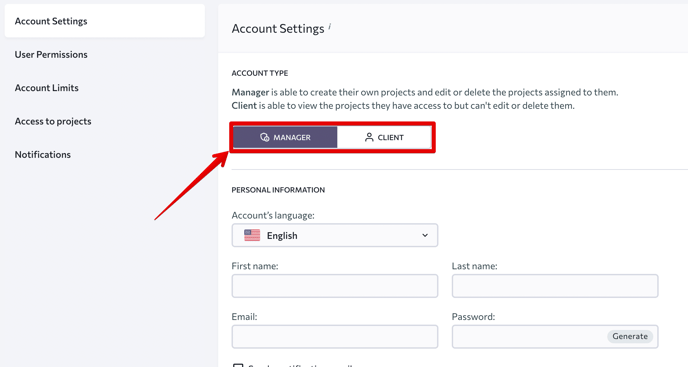
Managers can both view and add information onto your account. Clients only have viewing permissions.
Once you have selected the type of user to create, enter their first name, last name, email address, and then set up their password.
Following that, in the “User permissions” section, you can select the tools available to a specific user. This is very handy, especially when there are multiple tools that don’t apply to certain users. It’s also useful when you want to prevent a user from overusing your limits.
Also, it’s possible to grant a manager the right to manage access to the account. This lets them create new accounts and projects, as well as manage user permissions.
In the “Account limits” section, you can set up limits on specific tools if you have permitted them in the user permission section.
Here, you can designate the number of limits that an account can use up and select specific projects that will be accessible and visible to this user.
If you want to provide a user access to a specific project just tick that project: 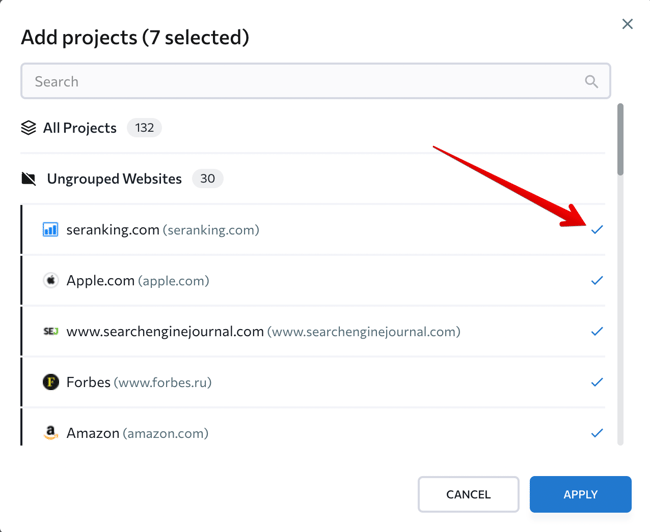
Sharing projects
When a project is created, either by the owner or any other user, that project will not be available to others. However, this can be adjusted by the owner of the account by granting the user access to that project.
Simply go into the user's access menu and select the projects you want to make available to this user.
You can always click all projects, which will grant access to all of the projects in your account. After this, those projects will be visible, and if the user is a manager, they can edit it as well.
Local marketing
Another important thing to remember: when using our local marketing package and adding locations, the locations will only be available to you. This remains the case whether you're the owner or employee. Each of these locations cannot be shared with any user at this time, but alternatively, you can go to the Thank you page.
Here, you can add locations for users to manage.
Reports and templates
You can create individual reports in Report builder, but they are only accessible to the user who created them. But there is another way to share templates so your team can quickly create uniform reports. To share a template with the team, the account owner simply has to turn on the respective option in the template settings:
Enabling this option will make the template available to all users who access this section.
User seats
When deciding on the subscription that suits your needs, keep in mind that each subscription comes with seat limitations.
You can increase the limit either by upgrading your subscription or by purchasing additional seats for an extra fee. To do so, go to Subscription page in your account and either click “Upgrade a plan” or click the “Extend the limit” button next to the user seats limit to buy individual seats.
Agency pack
You can also purchase our agency pack. This add-on is especially useful if you’re running an agency and would like to share access with multiple clients. The agency pack option provides you with 10 client seats. You can assign each client specific permissions and invite them to your account.