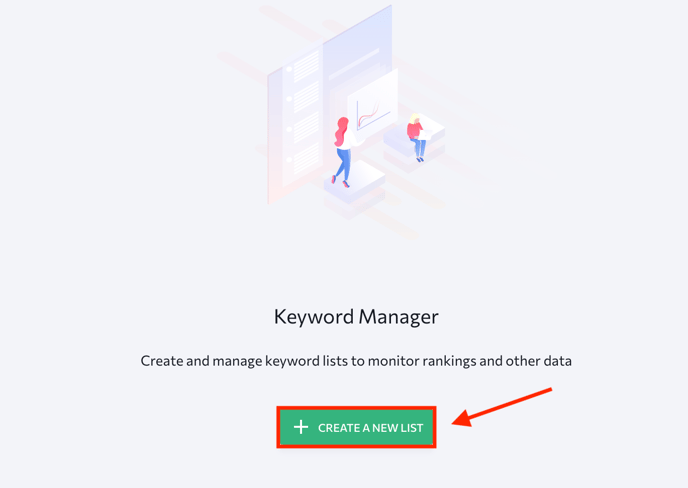
- If you are using the tool for the first time or you haven’t created any lists yet, you will see the welcome screen where you can create a new list. Click on the “Create a new list” button to get started.
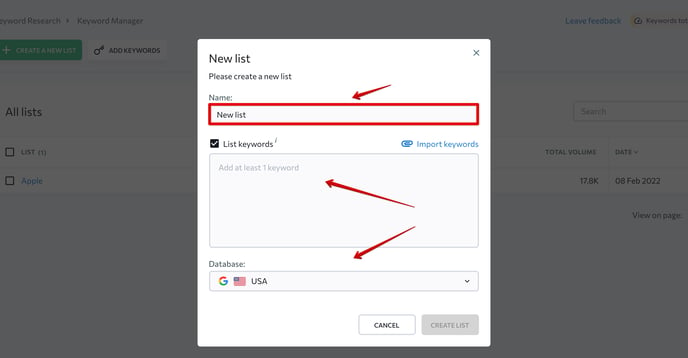
2. In the new window, enter a new name and add keywords. You can add keywords manually or import them by uploading a CSV or TXT file.
Then, select a region and click “Create list.” ![]() Keyword lists created in the tool are available to sub-accounts that were given permissions by the Administrator. Administrators can configure access to keyword lists and rights manually for sub-accounts (for example, allow clients to edit keyword lists and leave managers with read-only access).
Keyword lists created in the tool are available to sub-accounts that were given permissions by the Administrator. Administrators can configure access to keyword lists and rights manually for sub-accounts (for example, allow clients to edit keyword lists and leave managers with read-only access).
3. To add new keywords to the list, click on the corresponding button, select an existing list or create a new one, enter the keywords into the field, and hit "Add".
You can also add keywords directly from the Keyword Research and Competitive Research tools.
4. To analyze metrics, open a keyword list. In the new window, you will see the following parameters:
- Difficulty — the score of all keywords in this list that shows how difficult it will be to get the listed keywords to rank among the top 10 search results.
- Volume — the average number of monthly searches for a particular search query.
- Search Intent — the purpose of user search that explains why users use this keyword and what possible intentions do they have.
- Competition — the number of advertisers that are displayed for the keywords in the list in relation to all keywords across the tracked search engine.
- CPC — the cost per click or the actual price that needs to be paid for each click in a pay-per-click (PPC) marketing campaign.
- SERP features displayed for the analyzed keyword.
- Organic results — the top search results that rank for the analyzed keyword. To expand the SERP, click on "Show."
![]() You can change the order of columns in this section’s table. Just click the "Columns" button to select which columns to display and then rearrange them (drag-n-drop units to set the order of columns).
You can change the order of columns in this section’s table. Just click the "Columns" button to select which columns to display and then rearrange them (drag-n-drop units to set the order of columns). 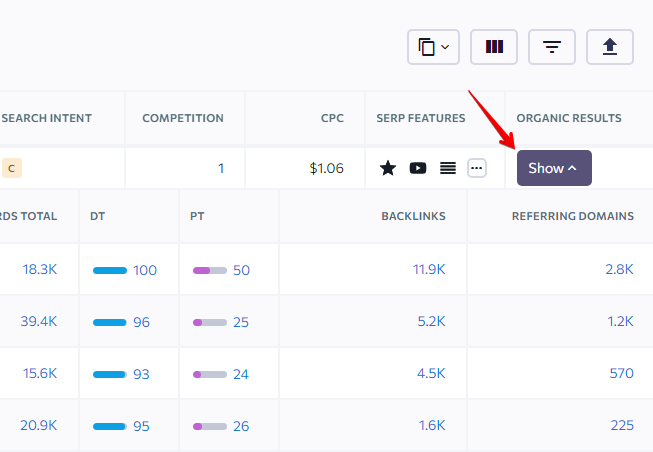
On this page, you can also 1) clear and add metrics to the table, 2) filter results, 3) export listings to CSV or XLS, and 4) add keywords.
5. To delete or change the name of a list, hover over the list box and click on the icon.
6. You can also add keywords from Keyword Manager lists to your projects. For this, checkmark the necessary keywords on a list, select “Add to” > “Add to project rankings” > “Add selected keywords”. Or select “Add all keywords” to move the entire list of keywords to a project.
It’s possible to add keywords from the table to any of the articles in Content Editor or create a new article. The keywords will be added to the selected article’s list of terms.

Hover over the needed keyword, expand the three-dot menu, and choose “Add to Content Editor”.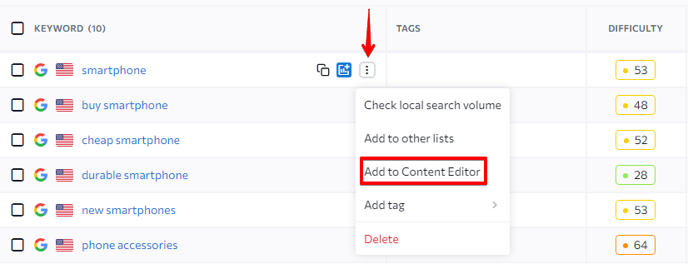
Otherwise, tick several keywords, click on the “Add to” button and choose “Add to Content Editor.”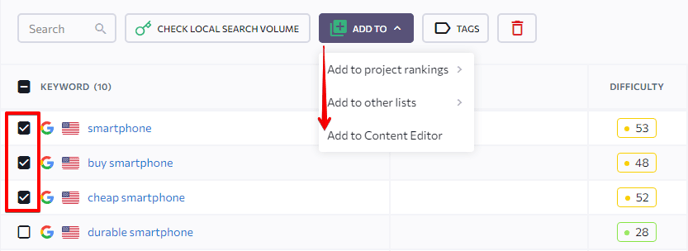
In the pop-up window, select one or several articles from the list or create a new article.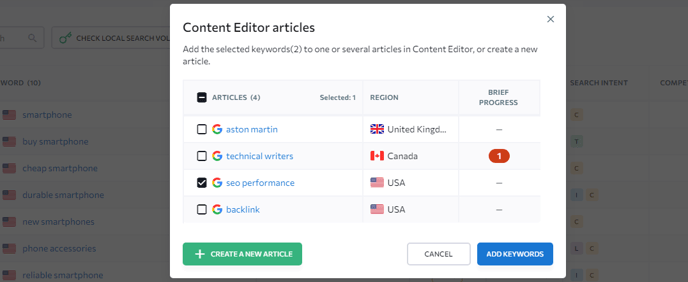
Filtering and customizable tags
Keyword Manager allows you to filter keywords by character or word count. It also enables you to include and exclude phrases. Now you can find the right keywords more quickly, so you won’t be spending nearly as much time sifting through tons of less relevant keywords. On top of that, you can also do the following now:
- Add tags to keywords
- Edit or delete added tags
- Filter keywords by tags
- View the tags next to keywords in the Keyword Manager