
If you want to enable your manager or a client to access your projects in SE Ranking, go to the "Users" section and click the “Add User” button.

Fill in the fields in the pop-up window.
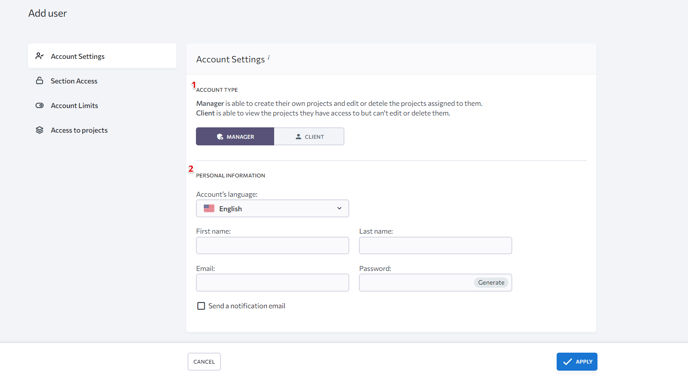
1. Account type
There are two sub-account types – for managers and clients. The manager account enables the user to create new projects and edit existing ones. The client account lets the user view all assigned projects with no right to edit and/or delete anything.
Administrators can grant the following permissions to sub-accounts:
- Add and delete new Users (sub-accounts).
- Manage access to account features, projects, and sections.
- Manage account limits.
To configure rights and permissions granted to sub-accounts, go to the Users section of the account settings, open the sub-account’s settings, and click on “User Permissions.”
2. Personal information
First and last names Specify the first and the last name of the person you want to give access to. The first name (and optionally the last name) will be displayed in the user's account. Email Enter the email address that the user will be using to sign in to SE Ranking and to receive project reports. You cannot enter an email address that is already registered in the SE Ranking system. Password Create or generate a password that the user will use to log in. Account language You can choose the account language and tick the "Send a notification email" checkbox, if you want to notify users that you're sharing project information with them. The users will receive an email that looks like this: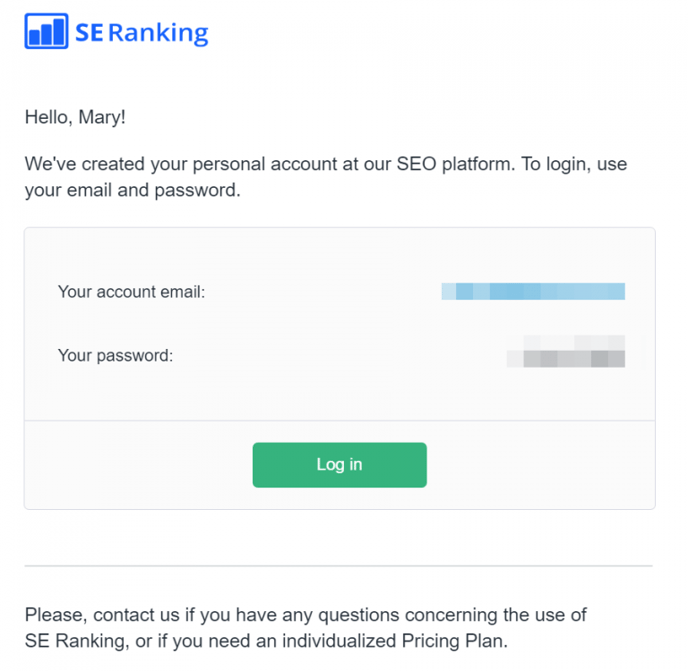
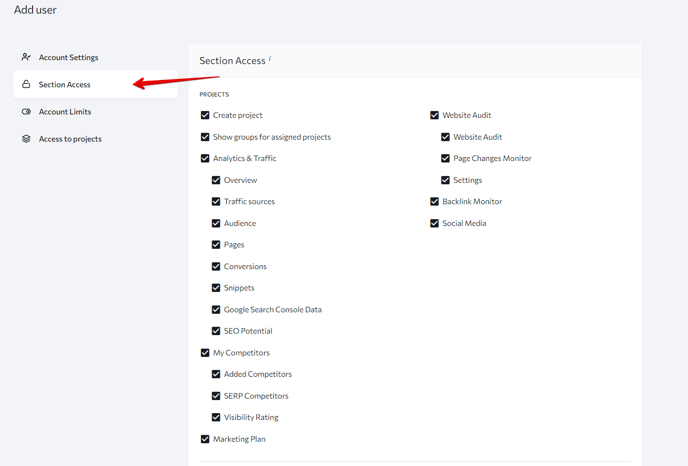
3. Section access
Select the sections and SE Ranking tools that you want to give sub-users access to. To do this, just tick the respective checkboxes.
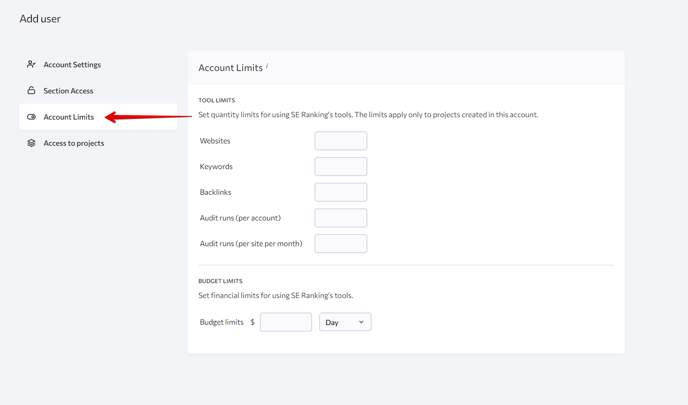
4. Account and subscription limits
You can define the limits you are setting for sub-users that include the number of projects, keywords, backlinks, and audits. You can also set budget limits that sub-users can spend while using the tools. To do this, tick the corresponding checkboxes and enter the amount of money available per day, week or month.
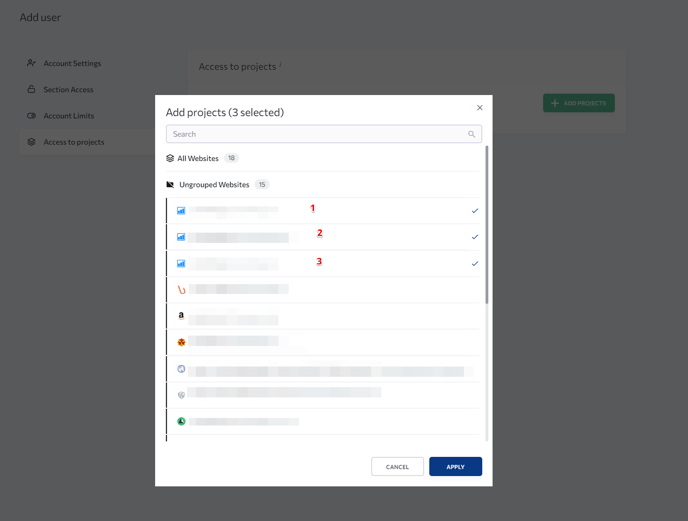
5. Access to projects
In this section, you can give sub-users access to particular projects. To do this, click on "Add Projects" and select necessary projects in the pop-up window. Once finished, hit "Apply" to save changes.
After you’ve created a sub-account, you can check what data the user will be able to view.
